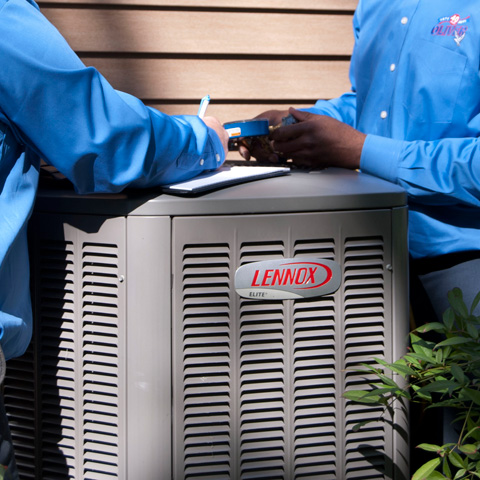
Experienced do-it-yourselfers can learn how to install a heat pump with the help of this article. Keep in mind that a mini-split heat pump will need a new circuit to deliver power to the unit. The new electrical line should exit the house next to the new condenser unit. You could have an electrician install the power supply and take care of the rest of the installation yourself. The majority of the job consists of mounting the units and running refrigerant lines.
Tools Needed 
Before starting, read through the manufacturer’s directions for the specific heat pump that you purchased.
- Power drill
- Hole saw
- Hammer
- Level
- Pliers
- Wire stripper
- Tubing bender
- Gauges
- Vacuum pump
- Assorted screw nails
- Torch
- Fire extinguisher
- Sheet metal tools
- Wrenches
How to Install a Replacement Heat Pump
- Heat loss calculation is required for proper sizing.
- Determine where you will locate the outdoor unit and the interior air handler.
- Use the level to set the indoor air handler.
- Use sheet metal tools to connect new air handler to duct system.
- Bore the hole needed to pass through the electrical and refrigerant lines to the outside with a hole saw.
- Connect drain line and route to suitable location. Condensate pump may be required.
- On the exterior of the home, mount the plastic conduit to hold the lines between the air handler and condenser.
- Once again use level to set the base for the outdoor unit.
- Set the condenser in place.
- Run low voltage wire from indoor air handler to system control.
- Mount system control in desired location.
- Insert the electricity supply line through the conduit connecting the air handler and condenser.
- Use the wire strippers as necessary to connect low voltage electrical line to the air handler.
- Install the air handler onto its mounting hardware with screws.
- Run the refrigerant lines through the hole.
- On the outside, attach the refrigerant lines to copper tubing and run them through the conduit with the power cable.
- The tubing bender will allow you to reshape the copper lines as necessary on their way to the condenser.
- Use cable ties or tape to hold lines together and make them easier to work with.
- When refrigerant lines reach condenser, attach them. Be sure to use proper brazing material and torch.
- Connect the condenser to the new electrical line from the new circuit.
- Complete installation by bolting the condenser in place. Doing a complete and proper startup of the system.
*High voltage should be done by a licensed electrician.
*These are just general steps required. Be sure to read and follow the manufacturer installation instructions and follow all national and local codes. Secure permit from local municipal if required.
*Fire extinguisher should be readily available any time a torch is being used.
Oliver Offers Heat Pump Installation Services
If you need help, Oliver Heating & Cooling has experienced technicians who know how to install a heat pump. You can ask us to take care of the new electrical circuit or perform the complete heat pump installation. Contact us to request more information about heat pumps or schedule an appointment today.


